Parameter Settings
Now that you understand the concepts and layers and use cases and strategies of Grim Reaper, let's dive into the indicator's parameters and settings.
Accessing Settings
Follow the Setup Indicator Parameters tutorial to open the Grim Reaper settings panel. This guide will explain the parameters based on different sections.
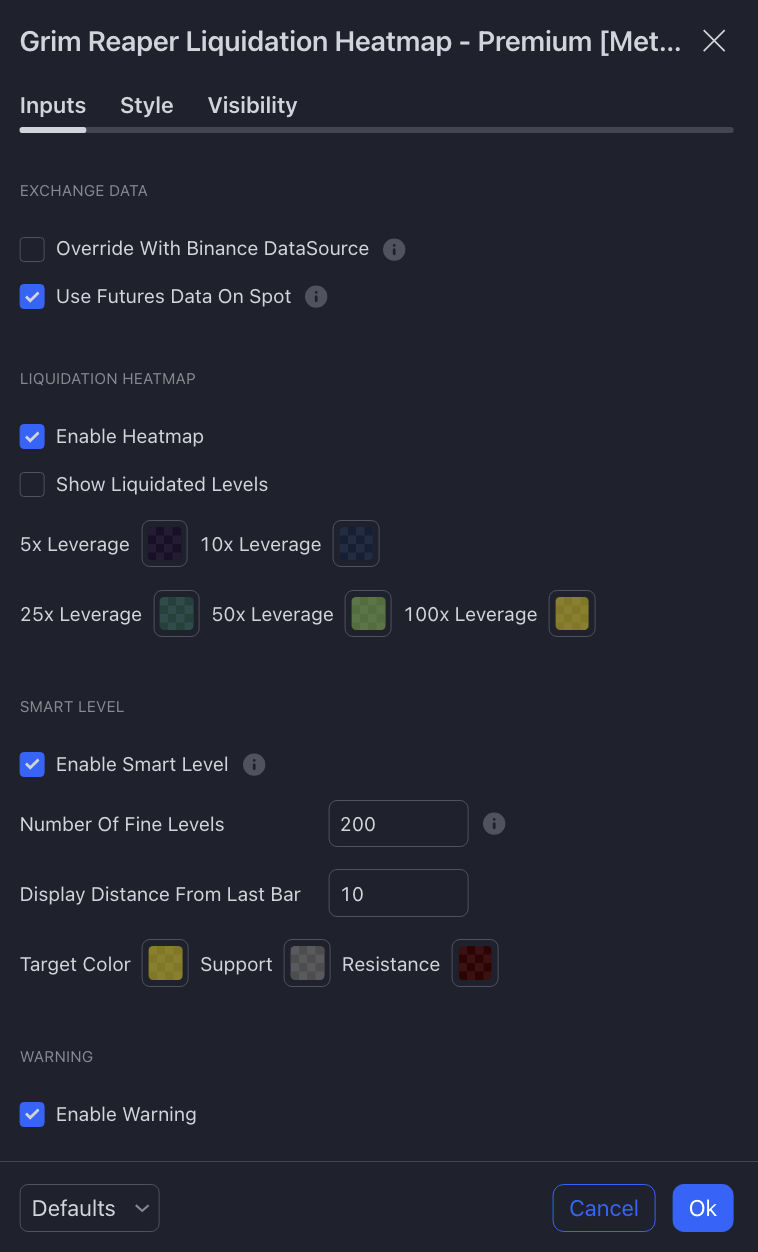
Exchange Data
-
Override with Binance DataSource
Grim Reaper (Grim Reaper) uses the Open Interest (OI) data from the chart's exchange by default. However, if the exchange doesn't provide OI data (e.g., ByBit or MEXC), the Grim Reaper will not display any data. Enabling this option forces Grim Reaper to use Binance's OI data for the same pair, displaying the heatmap.
This option is off by default, as some exchanges, like OKX, provide their own OI data.
-
Use Futures Data on Spot
This option is enabled by default. Since spot markets don't have OI data, enabling this setting will show the futures liquidation data (e.g., BTCUSDT.P) on spot charts (e.g., BTCUSDT).
Liquidation HeatMap
-
Enable Heatmap
Enabled by default as it is the core function. If you only want to use other features like SmartLevels on the main chart, you can manually disable this to hide the liquidation lines.
-
Show Liquidated Levels
Enabled by default, this option shows the price levels that have already been liquidated, helping traders observe historical key levels. It is recommended to disable this in practice because TradingView can display a maximum of 500 lines. By turning off the liquidated levels, you can see more (and older) unliquidated levels.
Smart Level
-
Enable Smart Levels
Disabled by default, but you can enable it manually.
-
Number of Fine Levels
Controls the granularity of SmartLevel. Increasing this value improves display precision, while decreasing it speeds up chart loading. The maximum is 200.
-
Display Distance from Last Bar
Sets the distance between SmartLevel and the last candle. The default is 10. If using it with PowerRanger, you can set it to 200 to align it with the Volume Profile.
Warning
-
Show Instruction
Enabled by default. We recommend using Grim Reaper in the supported time frames. This option adds a warning label when the chart is in an unsupported time frame (other than 15m or 30m). You can disable this warning.
If you find any unclear instructions or errors in this tutorial, please contact MethodAlgo's @Staff on the Discord Trading Terminal for corrections.